
Maybe you’re asking the same question which lots of website owners who use HostGator hosting services ask: how to backup or restore a WordPress-powered website?
If that’s the case, just read on the article to find out ways to do these tasks for your website.
As you know most of the websites or blogs are built using WordPress. Also, HostGator is very popular too. That’s why many HostGator users are looking for ways to back up or restore their WordPress website.
Table of Contents
Why back up your website?
Many experts list several reasons for having a backup, or even regular backups of your website; no matter if it’s built by WordPress or using other coding methods or software.
But the reason for backing up your website could be as simple as the reason why you back up your computer files – because you’ll be covered if something goes wrong with them.
That’s why just like having an insurance plan, it’s important that you have website backups too.
As to other reasons why backups are necessary, we could say they work as safety plan against:
- Hacking and online viruses
- Accidental or deliberate coding and file manipulations
- Website updates not done well
WordPress or HostGator backup/restore options?
You have a number of options to start your website backup or restore process on HostGator.
Some of these options are offered by your hosting company, which is HostGator in this case. The other options are available through WordPress itself.
So, no matter what hosting company you use, as long as there are minimum technical requirements needed, you should be able to use those plugins or software to backup or restore your website.
Now, let’s begin with the options provided by HostGator.
How to back up your WordPress site on HostGator?
It is essential to regularly back up your website if you’re using HostGator web hosting services. The same is true when using other hosting companies as well.
If you are a HostGator customer, one of the easiest ways to do a WordPress website backup, is by using the HostGator backup feature. You could access that option in your account.
Simply follow these steps to start the website backup process:
Step 1: Sign in to the HostGator account with your username and password.
Step 2: Go to the “My Sites” option.
Step 3: Now click the button for “Backup My Site.” 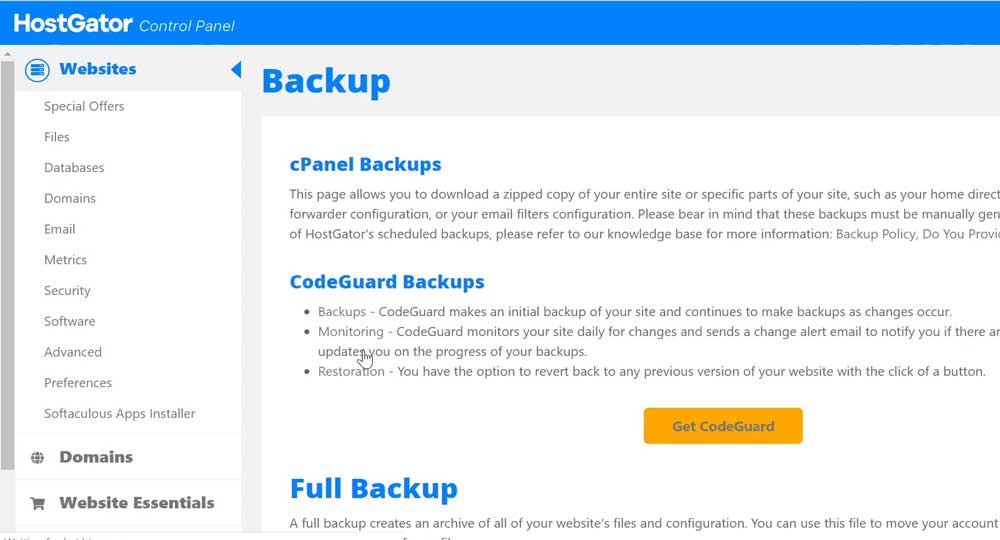
Step 4: Give your website’s login details and tap the “Start Backup” tab.
Step 5: Now you should just wait a couple of minutes until the backup process is finished. 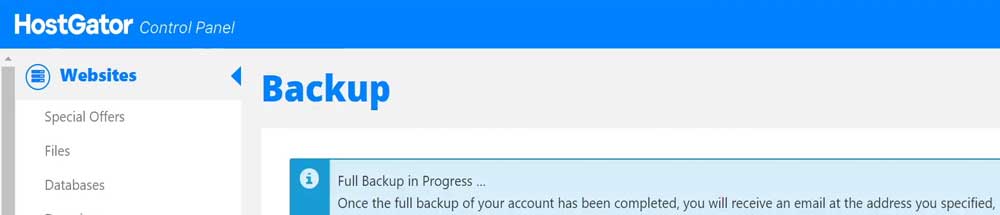
On your account page, you could find the backup file once the process is finished.
How to restore WordPress website on HostGator?
You can restore your WordPress website if anything wrong happens. Here is how to restore your website on HostGator:
Step 1: Log in to your HostGator portal
Step 2: Choose the “My Sites” option.
Step 3: Now select the “Restore My Site” tab. Provide your website’s login details and press the “Start Restore” button. It will begin the HostGator restoration process which will take several minutes to accomplish.
You will see the restored file on your account page once the process is done.
Using cPanel to back up/restore your website
The good thing about all hosting services providing cPanel is that you could access lots of useful features available through your cPanel account as well.
One of these features is the backup option.
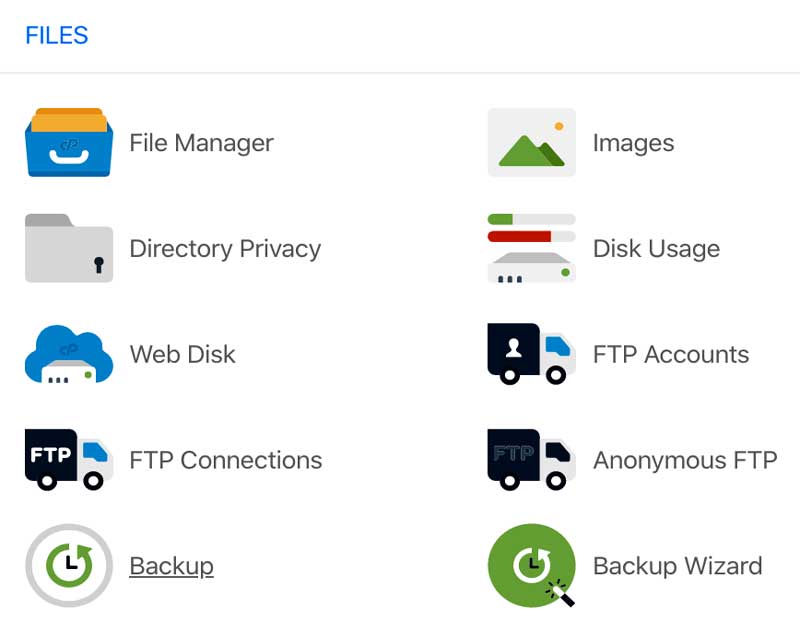
To back up you site through cPanel, just log in to your cPanel account and look for an option named “Backup Wizard.”
On the that hand, if you want a previous version of your site to be restored, you could use the same tool to operate the task.
Using WordPress backup plugins for website backup & restore
Another way to make a full copy of your website is through WordPress plugins. There are lots of plugins, both free and paid, which could be installed and used to do the process.
Here are some backup plugins just to name a few:
- ValutPress
- BackWPup
- BackUpWordPress
- Duplicator
- Backup & Restore Dropbox
- BackupBuddy
These WordPress plugins are really easy to use. Moreover, they can be simply configured to perform automated backups too.
For more instructions on how to use them, just check out their page on their official website.
Alternatively, you could head to wordpress.org for documentation or tutorials. Some of them even provide video tutorials as well.
How to use CodeGuard for automatic website backups
CodeGuard is a great choice for website owners who don’t want to perform manual backups. This software can run automated backups of your whole website. It comes with a one-click restore feature to restore either a single file or a whole website.
Backup with CodeGuard
Follow the below-mentioned steps:
- First, log in to your HostGator portal.
- Press the “Hosting” button and then go to the “Manage” option.
- The next page will appear where you need to find the CodeGuard image and press the “Manage” button.
- On the following page, you can insert CodeGuard to your current hosting packages if it is not already added. In case it is active, you can manage your website backup settings.
Restore with CodeGuard
It is very easy to restore a backup using CodeGuard, irrespective of what you want to restore. To restore website files, use the following steps:
- Go to your CodeGuard dashboard.
- From the given list of website backups, find your domain.
- Now press the “Action” tab on the right side of the domain.
- Then, choose the “Restore” option.
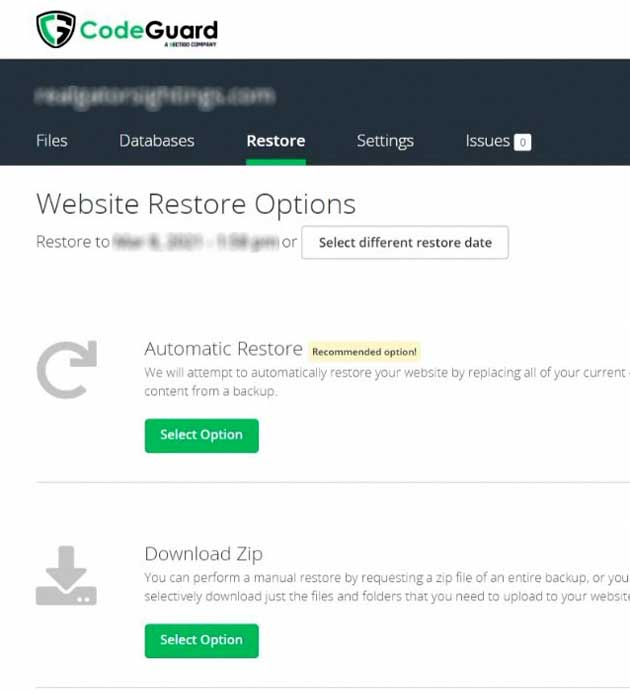
- Find the backup date you want to restore.
- Now press the “Restore Options” button and your restoration process will start.
Conclusions
Having a website backup is essential for a variety of reasons. Some people postpone the task or just don’t do it because they think it’s not important or is so complex they can’t do it right. As you saw earlier, there are several methods for HostGator users to back up and restore their WordPress powered websites. Each method you use, just make sure to have regular backups of your website. That way, in case of an emergency, you know you don’t need to worry since you could easily restore your website to the last working version.